.jpeg?width=1000&height=664&name=AdobeStock_19720776%20(1).jpeg)
These honey balsamic roasted Brussels sprouts are not only beyond easy to prepare, but I guarantee they will be gone in no time so make plenty! These will become your new healthy addiction.
I was never a big fan of Brussels sprouts until I tried them roasted. I always had them steamed, most of the time with just salt and pepper on top. But roasted? These Brussels sprouts are so good!
Some may think of them as mini cabbages, they look like them, but it is a compact and flavorful vegetable that when caramelized is irresistible and you will be popping these in your mouth-one after another.
Roasting the Brussels sprouts really gives them a nutty flavor and besides being super healthy, they are tasty.
What is my secret that makes them so good? I toss these little beauties in a honey and balsamic vinegar mixture after roasting for an incredible dimension in flavor. It sealed the deal for me.
It’s a great side dish or main dish for a meal. The balsamic vinegar makes it tangy, and the honey gives them some sweetness. When tossed with the roasted, caramelized Brussels sprouts- heaven.
Prep Time: 5 minutes
Cook Time: 20 minutes
Total Time: 25 minutes
Servings: 4
INGREDIENTS
- 1 ½ lbs brussels sprouts
- 3 tbsp olive oil separated
- ¾ tsp kosher salt
- ½ tsp ground black pepper
- 2 tbsp balsamic vinegar
- 2 tsp honey
INSTRUCTIONS
- Preheat oven to 425 degrees.
- Line a baking sheet with aluminum foil or parchment paper.
- Trim off the outer, dry leaves, cut the bottom off and slice sprouts lengthwise.
- In a large bowl, toss brussels sprouts with 2 tablespoons of olive oil or sunflower oil, kosher salt and freshly cracked black pepper to coat thoroughly.
- Transfer the brussels sprouts to baking sheet and roast until tender and caramelized, about 20 minutes.
- Place brussels sprouts back in bowl. Add remaining tablespoon olive oil or sunflower oil, balsamic vinegar and honey and toss to coat evenly. Taste and season with kosher salt if necessary and serve.
That’s it! All under 30 minutes, too. Thought there was more to it? Nope, not at all. Sometimes the simplest or easiest can be so good.
Topics: Healthy Recipes
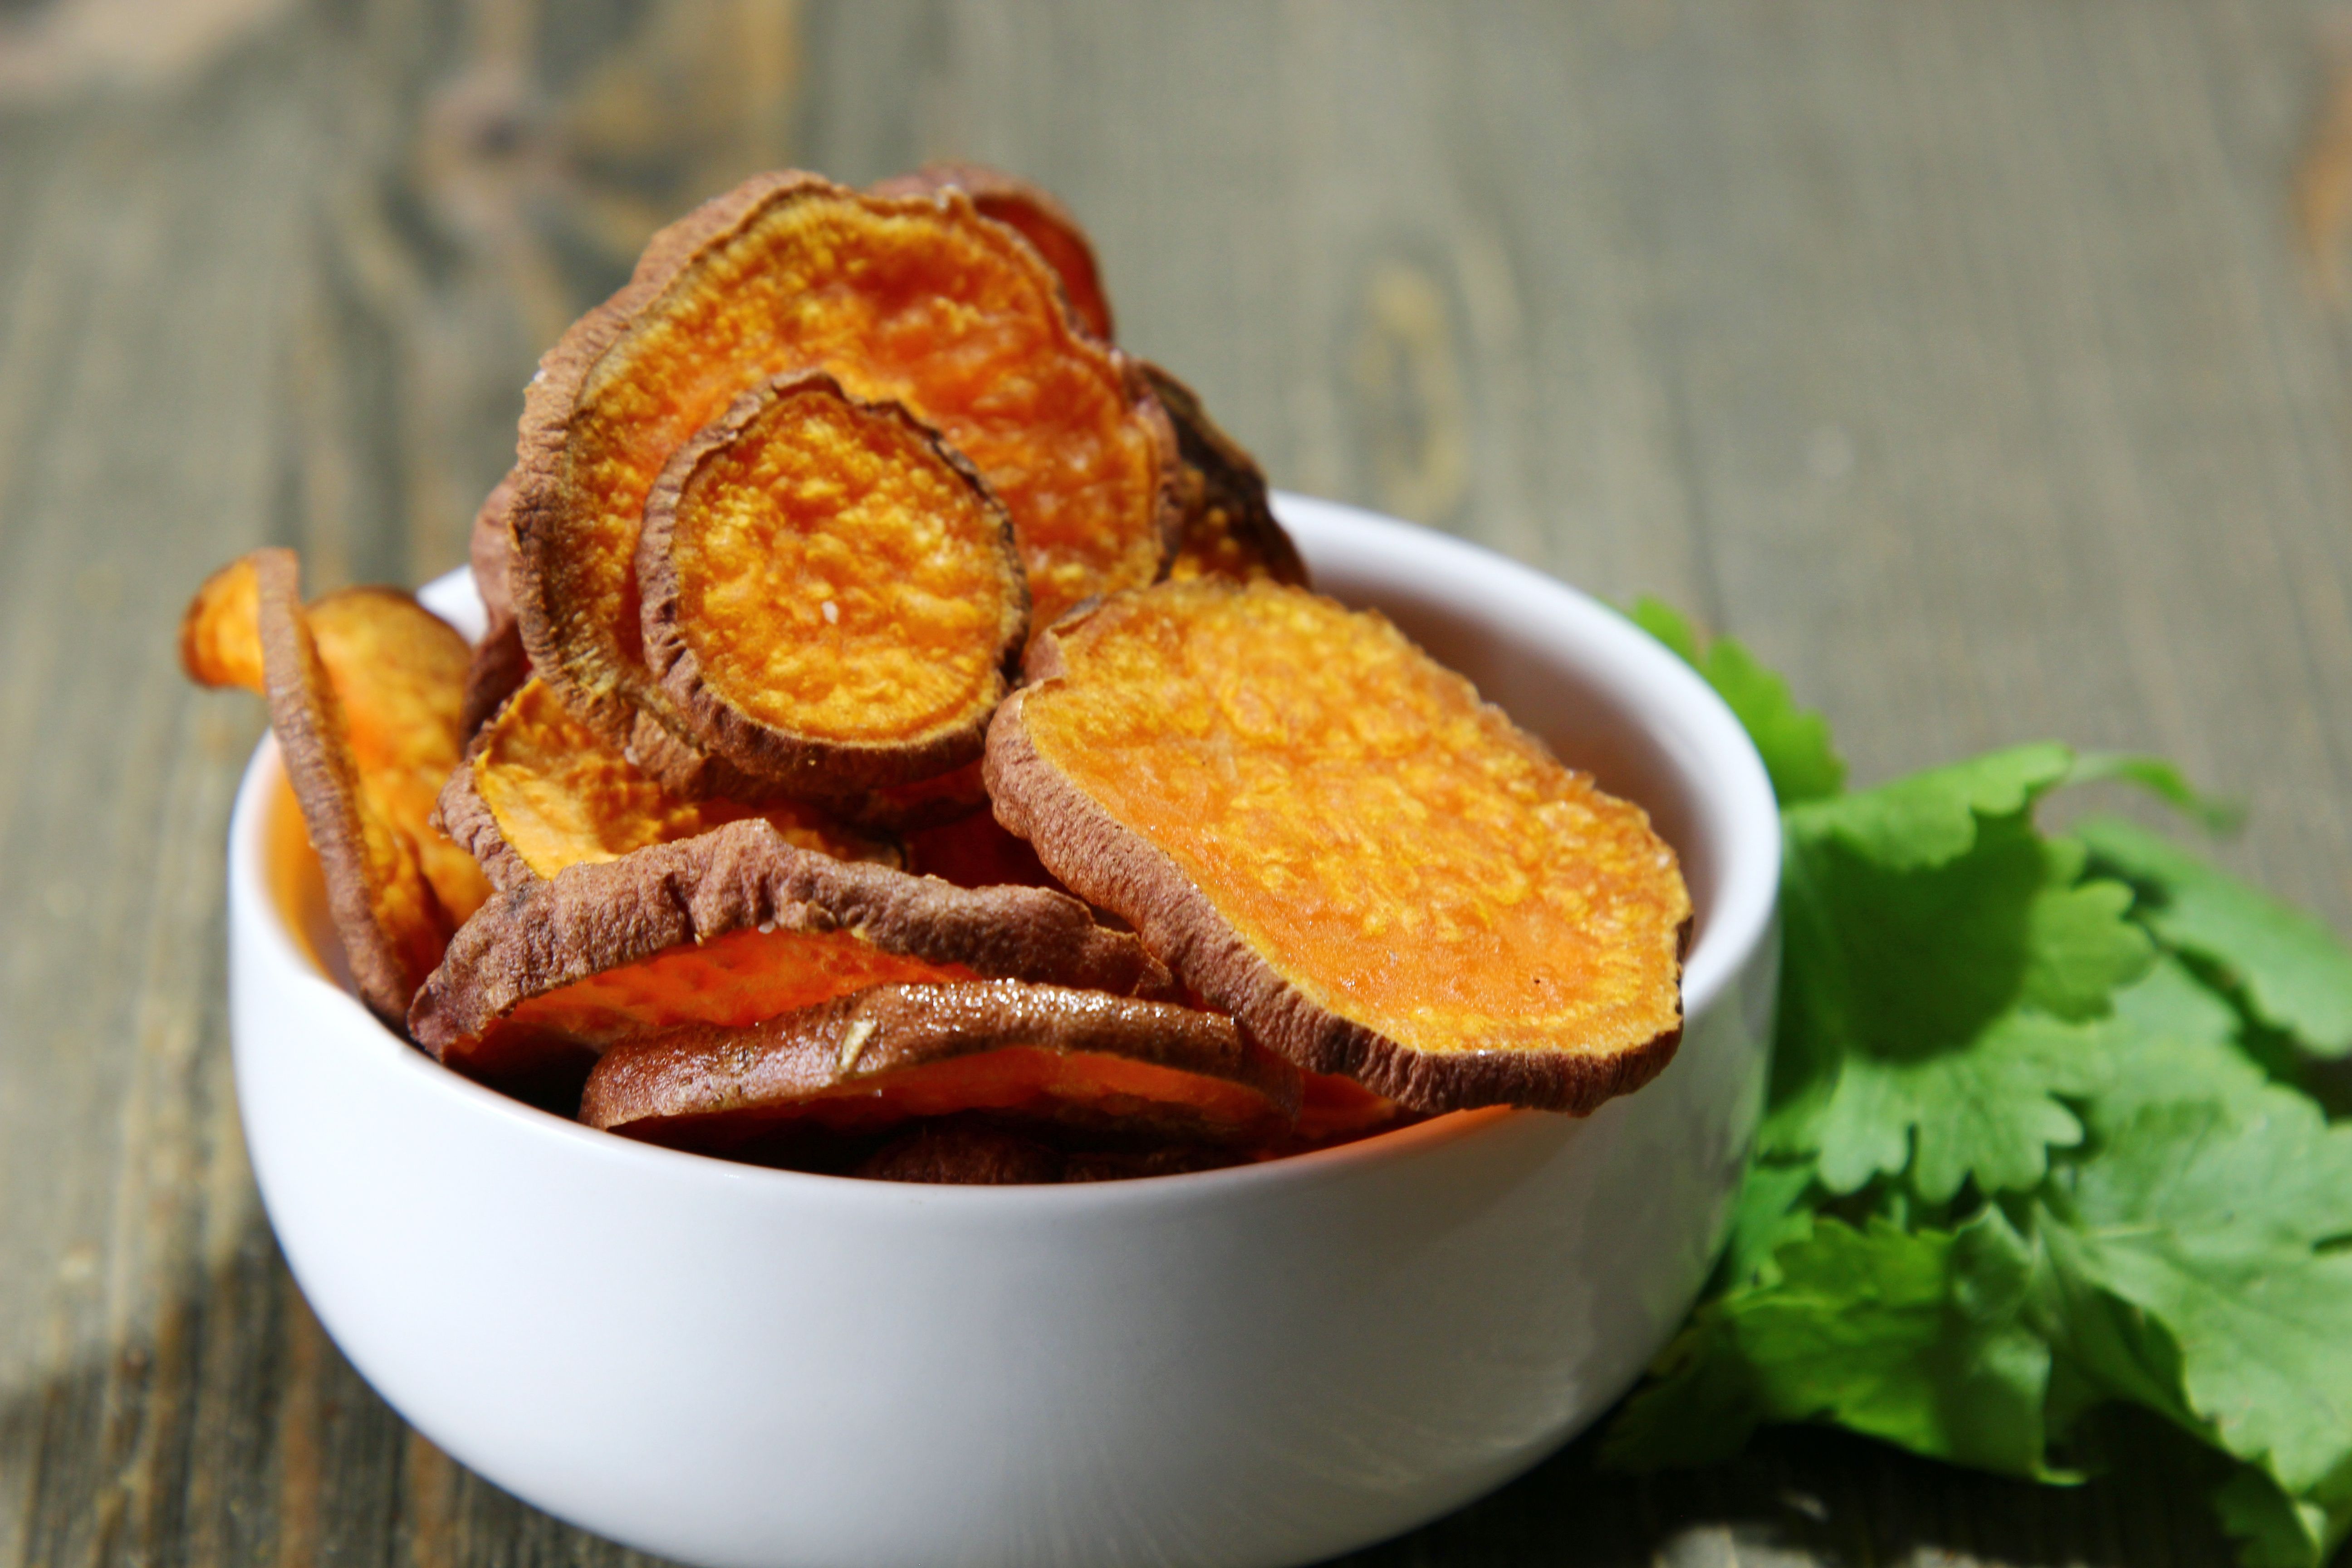
These chips are a guilt free snack to keep you happy and on-track with any weight loss goals. They are filling, and can be spiced up with different herb combinations, even salt and vinegar, to keep you interested, satisfied, and happy with your snacks!
Pro tip: I like to get perfect chips by using a mandoline slicer, on the thinnest setting possible. Creating very thin chips is the key to getting a good crunch-as well as an extended cooking time. While the cook time might intimidate you, don’t let it! We’re going to slowly bake these-almost like dehydrating-to reduce moisture in the sweet potatoes so we can get a good crunch. The actual prep just takes minutes-and after that you’ll just be monitoring your chips so they don’t burn.
Servings: 5 cups (approx.)
INGREDIENTS
- 3 medium sweet potatoes thinly sliced
- 3 ½ Tablespoons extra virgin olive oil + more for brushing
- Salt
- Pepper if desired
INSTRUCTIONS
- Preheat oven to 250 degrees. Rinse and scrub sweet potatoes. Thoroughly dry before proceeding. Thinly slice potatoes (The best methods are either a food processor with a slicing blade or a mandoline slicer). You want the potatoes to cook evenly so be sure to make them as uniform as possible while slicing.
- In a medium sized bowl combine olive oil and sweet potatoes. Stir to combine and coat evenly.
- Line 2 baking sheets with parchment paper. Very lightly brush olive oil on parchment.
- Arrange sweet potato slices evenly on baking sheets. Sprinkle generously with salt and pepper (if desired).
- Bake at 250 for 1 hour, until crispy
- Turn oven up to 350 and let chips brown very slightly. Watch chips and make sure they do not burn
- If you’d like them cool, place on a cooling rack and let sit 10 minutes.
- Serve and enjoy!
- Extras can be stored in an airtight container. Will last for up to a week.
**If you’re craving some chips fast, you can bake at 350 for 20-30 minutes, but you must flip and rotate the chips to ensure they don’t stick or burn. This is a bit more complicated, but will still get you delicious crunchy chips
Topics: Healthy Recipes
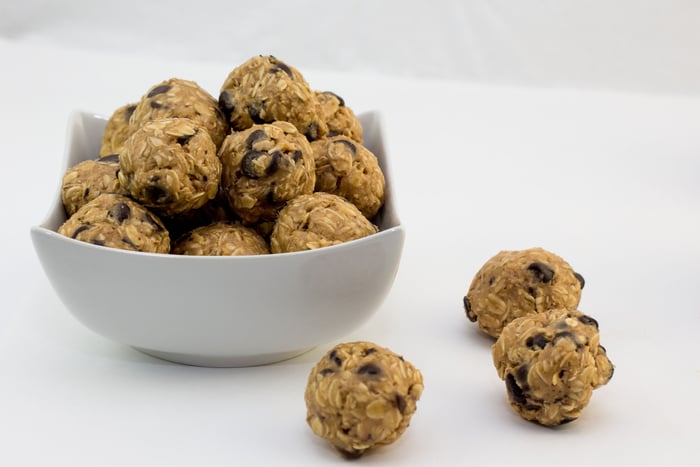
These energy bites are no bake, super easy to make and take less than 10 minutes to put together. Loaded with protein, fiber and healthy fats to keep you full and loaded with energy throughout the day. Made with only 5 ingredients: peanut butter (you can also use almond butter!), old fashioned oats, flax seed, honey and chocolate chips. Everything gets combined in one bowl.
The best thing about this recipe is that it is super versatile. If you do not have flax seed on hand substitute with wheat germ. Try dark chocolate chips instead of semi-sweet. Add in shredded coconut, cranberries, or cocoa powder.
These Peanut Butter Energy Bites could easily pass as dessert. They are the perfect mix between a granola bar and cookie dough. Great to curb the afternoon munchies and the dreaded mid afternoon energy slump.
You can even freeze these Peanut Butter Bites if you don’t eat them all within a week.
INGREDIENTS
- 2/3 cup creamy peanut butter
- ½ cup semi-sweet chocolate chips
- 1 cup old fashioned oats
- ½ cup ground flax seeds
- 2 tablespoons honey
INSTRUCTIONS
- Combine all 5 ingredients in a medium bowl. Stir to combine. Place in the refrigerator for 15-30 minutes so they are easier to roll.
- Roll into 12 bites and store in the fridge for up to a week.
Topics: Healthy Recipes